Writing an image compression app with NodeJS, imagemin & pngquant (Part III)
Part III into writing an image compression app with NodeJS, imagemin & pngquant.

Hey guys, welcome back to Part III of my mini-app-cli-ish image compression series! If you haven't read part Part II, you can do so here. By the way, ghost added image compression to their core so your images will be compressed automatically by default!
Anyway, I'll continue this tutorial series because I'm starting a new Fotohaecker Project from scratch with Elixir & Phoenix Framework and I need a compression CLI to process users photo uploads.
Updating our dependencies
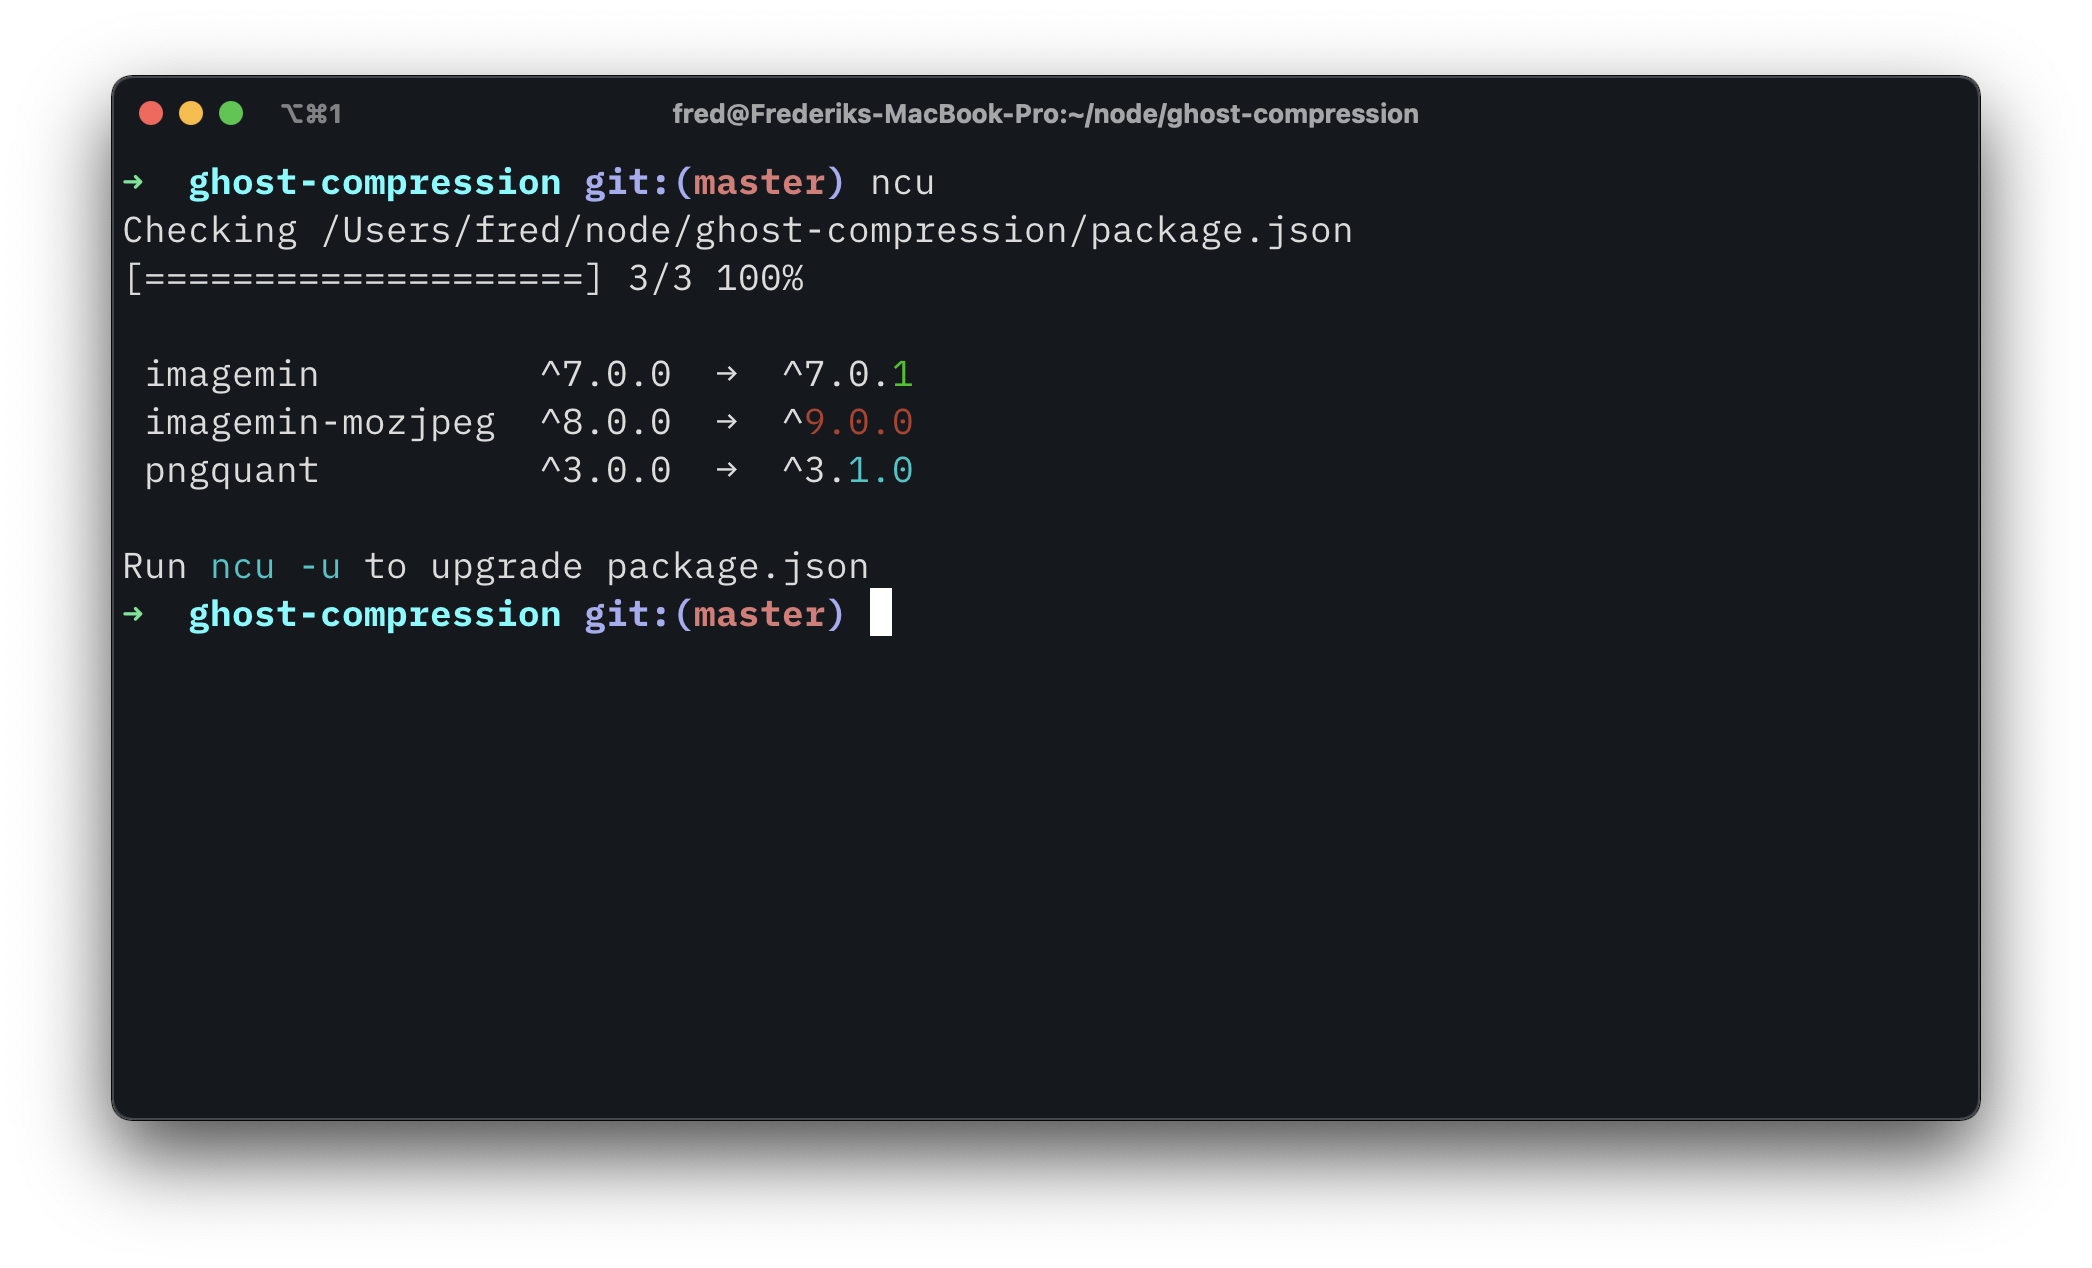
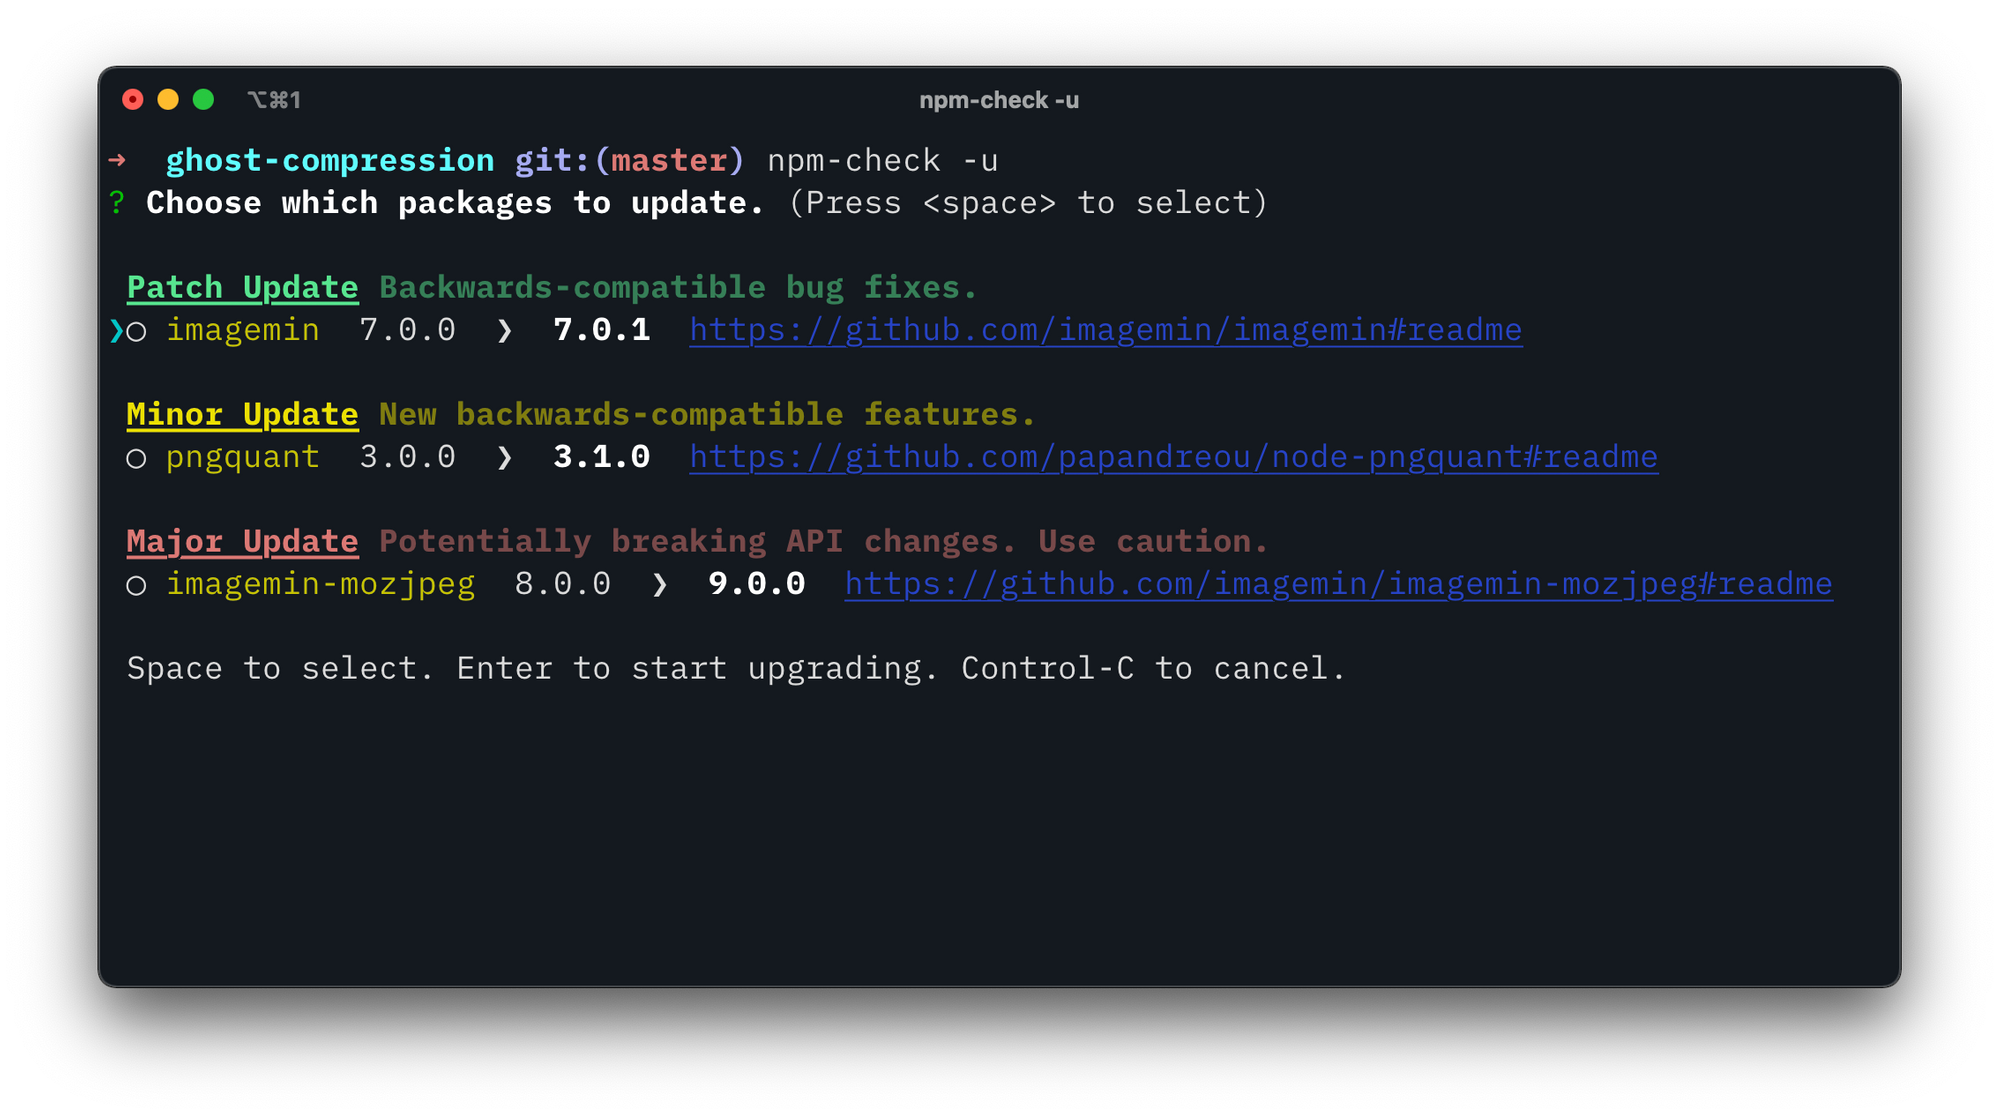
Because my last post is a bit old, we first want to check for dependency updates. For this, I find two libraries very useful: npm-check-updates and npm-check. The first one is more popular but the second has a graphical User-Interface - so you decide!
npm-check-updates: ncu

npm-check: npm-check (note, I added the -u flag to skip unused dependencies warnings, as we haven't actually used mozjpeg etc., yet.)

Into compression
Compression model
Now, lets get started with the actual compression of our images. It's triggered by the CLI command node run.js foo.jpg --compress [compression-level] and evaluated in our code src/cli-controller.js:18~25.
We can start adding the imagemin calls right in the controller but I'd much rather prefer a model for this. First, let's download a sample image to compress and place it into /images/test.jpg. Also, add a ./src/compression-model.js :
"use strict";

const imagemin = require("imagemin");
const imageminMozjpeg = require("imagemin-mozjpeg");
const fs = require("fs");

module.exports.compress = async (options) => {
  const { sourcePath } = options;
  // Check if file exists
  fs.promises
    .access(sourcePath)
    .then(compressImage(options))
    .catch((err) => console.error(err));
};

const compressImage = async ({ sourcePath, destinationPath }) => {
  const compressed_image = await imagemin([sourcePath], {
    destination: destinationPath,
    plugins: [imageminMozjpeg()],
  });

  console.debug(compressed_image);
};
./src/compression-model.js that throws an error if the file doesn't exist.Note the following things:
- with
fs.promises.access, we check if thesourcePath-File exists. Technically, we're introducing race-conditions with that but that's fine for me. - We're passing
optionsto ourcompressImagefunction but only usesourcePath&destinationPathfor now. imageminis asynchronous so ourcompressImagefunction needs to beasyncaswell to callawait imagemin. We'll come to that later.- Finally, we're printing out the result of imagemin with
console.debug().
updating our CLI controller
Then, we want to expand our CLI with a parameter that determines the destination to save the compressed image as. Our CLI will look like this then: node run.js [sourceFile] [desinationFile] [--compress] [compression-level]. With this, we'll also refactor our code a bit so missing parameters are catched earlier:
"use strict";

const compressionModel = require("./compression-model.js");

// function that decides what do do
// remember the syntax: `node run.js [sourceFile] [desinationFile] [--compress/--resize] [compression-level]`
module.exports.pass = async (args) => {
  const errors = await checkArgsForErrors(args);

  if (errors) {
    console.error(errors);
  } else {
    const [sourcePath, destinationPath, command, ...options] = args;
    // only run this if args where provided
    switch (command) {
      case "--compress": // fall-through to case "compress"
      case "compress":
        compressionModel.compress({
          sourcePath: sourcePath,
          destinationPath: destinationPath,
          options: options,
        });
        break;
      case "--resize": // fall-through to case "resize"
      case "resize":
        console.log(`** Insert resizing here, using options ${options} **`);
        break;
      default:
        console.log(
          `${command} is not a valid action, either use --resize or --compress.`
        );
    }
  }
};

const checkArgsForErrors = async (args) => {
  let errors = "";
  if (args.length < 1) {
    // warning the user that he did not provide a source file. !TODO we might want to print out our apps syntax here.
    errors += `You did not provide a source file. `;
  }
  if (args.length < 2) {
    // warning the user that he did not provide a destination file. !TODO we might want to print out our apps syntax here.
    errors += `You did not provide a destination file. `;
  }
  if (args.length < 3) {
    // warning the user that he did not provide an action
    errors += ` You didn't provide an action, such as --compress or --resize. `;
  }

  return errors;
};
./src/cli-controller.js that now can get more parametersNote the following things:
- As
imageminis asynchronous (That means that we have to wait for imagemin to finish processing our image before we can actually say that it succeeded and furthermore process it), we also needed to change all functions upstream to beasync. You can find a nice article about asynchronous concepts on MDN - I added a
checkArgsForErrorsfunction that adds up errors that might occur. When we start resizing, we can also move the check if the source file exists here - With
const [sourcePath, destinationPath, command, ...options] = args;,argsare destructured into more meaningful variables that we can use in the switch.
Make sure to also update the controller function call in run.js:9~12:
// function to handle user input, args is the array containing the arguments
const handleCliInput = async (args) => {
  await controller.pass(args);
};Run it!
You can now run our CLI with node run.js ./images/test.jpg ./images/compressed/test.jpg --compress

If the source file can't be found, our CLI will print out an error just like this:

Wrapping it up
Today, we refactored our cli-controller and added an asynchronous compression-model that takes different options to pass it to imagemin.
If you want to clone the project, you can: https://github.com/fschoenfeldt/ghost-compression
Thanks for checking out my guide series for writing an image compression app with NodeJS. If you have any questions, feel free to contact me via https://fschoenfeldt.de - Part IV is coming, very soon! x
Photo by Tim Mossholder on Unsplash